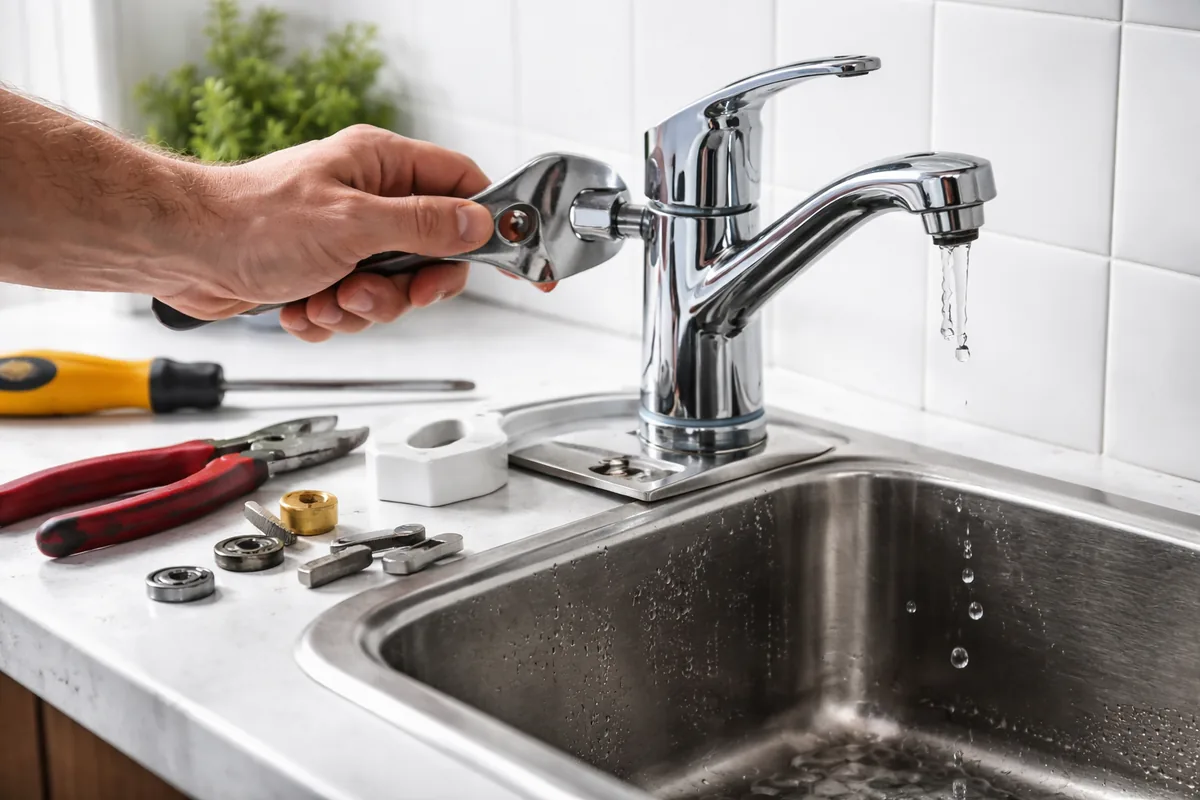
How to fix a leaking kitchen faucet without a plumber
A leaking kitchen faucet can be a frustrating issue, but it is a repair that most homeowners can handle without the need to call a plumber. By identifying the source of the leak and following a few straightforward steps, you can save both time and money. This guide will provide detailed instructions on how to fix a leaking kitchen faucet without needing professional assistance.
Common causes of kitchen faucet leaks
Understanding what causes a leak is essential to effectively fixing it. Leaks in kitchen faucets generally arise from a few typical culprits:
- Worn-out washers: The washer is a small rubber or felt disk that creates a watertight seal in the faucet. Over time, washers can deteriorate and lead to drips.
- Corroded valve seat: The valve seat connects the faucet and the spout. Corrosion can occur in this area, particularly in older faucets, allowing water to escape.
- Loose O-rings: O-rings are circular seals that prevent leaks at the base of the faucet handle. If they are damaged or misplaced, it may cause leaking.
- Pipe connections: Sometimes, the leak may not be from the faucet itself but from loose connections or fittings in the pipes below the sink.
Tools and materials you need
To successfully fix a leaking kitchen faucet, having the right tools and materials on hand is crucial. Here is a comprehensive list of what you will need:
| Tool/Material | Description |
|---|---|
| Adjustable wrench | For loosening and tightening nuts and bolts on the faucet. |
| Screwdriver set | Depending on your faucet type, you may need flathead or Phillips screwdrivers. |
| Replacement washers | Purchase washers that match your faucet model. They are available at hardware stores. |
| Plumber's grease | This helps lubricate O-rings and other seals. It ensures smoother motion and helps prevent leaks. |
| Bucket | To catch any excess water that may leak when you disassemble the faucet. |
| Cleaning rag | Used for cleaning and drying parts during repairs. |
Step-by-step guide to fixing a leaking kitchen faucet
Follow these detailed steps to repair your leaking kitchen faucet:
Shut off the water supply
Before you begin, it’s important to turn off the water supply to prevent any additional leakage. Locate the shut-off valves under your sink—turn them clockwise to close. If there are no shut-off valves, you may need to shut off the main water supply.
Drain the faucet
After shutting off the water supply, turn on the faucet to drain any remaining water in the lines. Allow the faucet to run until no more water comes out. Place a bucket under the sink to catch any water that may spill out when you disassemble the faucet.
Remove the faucet handle
Using the appropriate screwdriver, carefully remove the screws holding the faucet handle in place. Once the screws are removed, gently pull the handle off the faucet. If it appears stuck, lightly wiggle it to release it.
Inspect O-rings and washers
After removing the handle, you will see O-rings and washers in the assembly. Check these parts for any signs of wear and tear. If you notice that they are cracked, hard, or discolored, it’s best to replace them. Make sure to note the size and model to acquire accurate replacements at your local hardware store.
Replace worn parts
Once you have identified the damaged parts, carefully replace them with new washers or O-rings. Apply a small amount of plumber's grease to the new parts before installation to ensure a secure fit and to avoid future leaks.
Reassemble the faucet
After replacing the damaged components, reassemble the faucet in the reverse order of disassembly. Make sure the screws are tightened securely, but avoid overtightening, which can cause damage.
Turn the water supply back on
Once everything is reassembled, turn the water supply back on. Check for leaks by turning on the faucet and allowing water to flow for a few moments. Examine all connections closely to ensure that they are tight and not leaking.
Additional tips for preventing future leaks
To help maintain your faucet and prevent future leaks, consider the following preventative measures:
- Regularly check for signs of dripping or moisture around the faucet base and handle.
- Periodically inspect and replace washers and O-rings to keep them in good condition.
- Clean mineral deposits from the faucet head and aerator to maintain flow efficiency.
- Be gentle when turning the faucet on and off to avoid unnecessary wear on seals and components.
FAQ
How can I tell if my faucet is leaking?
You can tell if your faucet is leaking if you notice water dripping from the faucet head, pooling water around the base of the faucet, or if there’s moisture under the sink.
Can I fix any type of kitchen faucet myself?
Most common types of kitchen faucets can be repaired by homeowners—these include compression, cartridge, and ball faucets. However, complex issues or specialized faucets may require professional assistance.
What if my faucet still leaks after I replace the washers?
If the faucet continues to leak after replacing the washers, check the valve seat for corrosion, or consider replacing the entire faucet if the internal components are damaged.
How long does it take to fix a leaking faucet?
The time it takes to fix a leaking faucet usually ranges from 30 minutes to an hour, depending on the complexity of the faucet and your level of experience.
How much money can I save by fixing my own faucet?
By fixing your own faucet instead of hiring a plumber, you can save anywhere from $100 to $300, depending on the plumber's fees and the complexity of the repair.